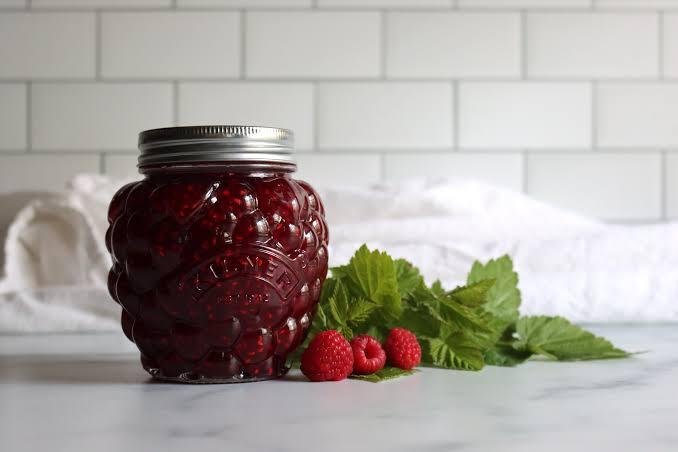
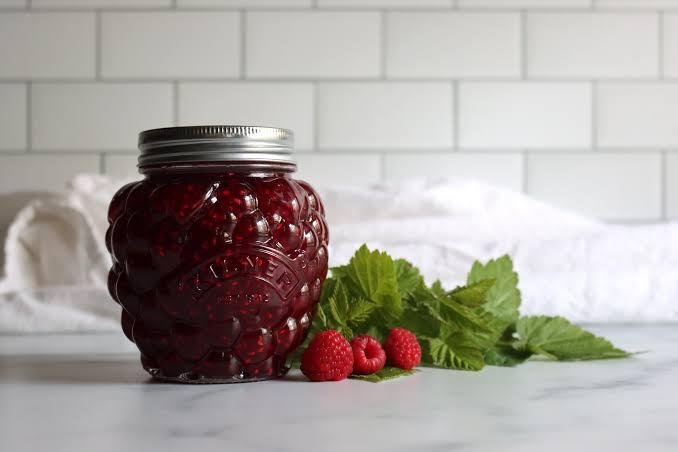
Homemade raspberry jam captures the bright, slightly tart flavor of fresh raspberries in a soft, spreadable preserve that’s perfect on toast, biscuits, or swirled into oatmeal and yogurt. This recipe keeps things simple — just raspberries, sugar, and lemon juice, with pectin for a reliable set. It comes together in about 30 minutes on the stovetop.
Why Make Your Own Raspberry Jam
Store-bought jam is often overly sweet and light on actual fruit flavor. Making your own lets you control the sweetness and end up with a jam that tastes distinctly of fresh raspberries, not just sugar. It’s also a great way to use up a big batch of berries before they go bad.
Ingredients
- 4 cups fresh raspberries (about 1 ½ lbs)
- 3 cups granulated sugar
- 3 tablespoons fresh lemon juice
- 1 (1.75 oz) package powdered fruit pectin (or a low-sugar pectin, adjusting sugar per package instructions)
Equipment
- A large, heavy-bottomed pot or Dutch oven
- A potato masher
- A water bath canner (if canning for shelf storage)
- 4-5 half-pint canning jars with new lids and bands
- A jar lifter and canning funnel
- A ladle
Instructions
Step 1: Prep the raspberries
Gently rinse the raspberries and pick through them, discarding any that are overly soft or moldy. Place them in a large bowl and mash with a potato masher to your desired consistency — some people prefer a chunkier jam with whole berries left intact, while others mash more thoroughly for a smoother texture.
Step 2: Combine raspberries, lemon juice, and pectin
In a large, heavy-bottomed pot, combine the mashed raspberries, lemon juice, and pectin. Stir well and bring the mixture to a full rolling boil over high heat, stirring constantly.
Step 3: Add the sugar
Once the raspberry mixture reaches a full rolling boil (one that doesn’t stop bubbling when stirred), add all the sugar at once, stirring until dissolved. Return the mixture to a full rolling boil and boil hard for exactly 1 minute, stirring constantly to prevent scorching.
Step 4: Test the set
Remove the pot from heat. To check the jam’s consistency, place a small spoonful on a chilled plate (kept in the freezer beforehand) and let it sit for a minute — if it wrinkles slightly when pushed with your finger, it’s ready. If it’s still runny, boil for another minute and test again.
Step 5: Skim and jar
Skim off any foam from the surface. Ladle the hot jam into clean, warm half-pint jars, leaving ¼-inch of headspace. Wipe the rims clean, apply the lids, and screw the bands on until fingertip-tight.
Step 6: Process (for shelf-stable storage)
Process the filled jars in a boiling water bath for 10 minutes (adjusting for altitude as needed). Remove with a jar lifter and let cool undisturbed on a towel for 12-24 hours, checking that the lids have sealed properly before storing.
Seedless Raspberry Jam Option
If you prefer a seedless jam, press the mashed raspberries through a fine-mesh strainer or food mill before cooking to remove the seeds, then proceed with the recipe as written.
Tips for the Best Raspberry Jam
- Use ripe, fresh raspberries for the best flavor — slightly overripe berries actually work well here since they’re extra soft and easy to mash.
- Don’t skip the lemon juice — it provides acidity for both safe canning and helping the jam set.
- Work in a single batch rather than doubling the recipe, since larger batches can be harder to get a proper set.
- Skip canning if you prefer — simply cool the jam and store it directly in the refrigerator as a “refrigerator jam” for a few weeks.
Storage
Properly sealed, canned jars can be stored in a cool, dark pantry for up to a year. Once opened, refrigerate and use within about 3 weeks. Unsealed or refrigerator-only jam should be kept in the fridge and used within 3-4 weeks.
Final Thoughts
Raspberry jam is a simple, rewarding way to preserve the bright flavor of fresh raspberries, and it comes together quickly with just a few ingredients. Once you’ve made a batch, it’s hard to go back to store-bought — the fresh, tart-sweet flavor is worlds apart.