Freezing corn on the cob is one of the easiest ways to preserve sweet corn at the peak of summer so you can enjoy it well into the colder months. With just a quick blanching step and a freezer bag, you can lock in that fresh, just-picked flavor and texture for up to a year. This guide walks through the whole process, from husking to freezing.
Why Blanching Matters
Blanching — briefly boiling the corn before freezing — stops the enzyme activity that causes vegetables to lose flavor, color, and texture over time in the freezer. Skipping this step can result in corn that tastes dull or develops an off flavor after just a few weeks in the freezer, so it’s worth the extra few minutes.
What You’ll Need
- Fresh corn on the cob, as much as you’d like to freeze
- A large pot for blanching
- A large bowl of ice water
- A colander
- Freezer bags or airtight freezer-safe containers
- A permanent marker, for labeling
Instructions
Step 1: Husk the corn
Remove the husks and silk from each ear of corn. Rinse the ears under cool water to remove any remaining silk strands.
Step 2: Bring water to a boil
Fill a large pot with water and bring it to a rolling boil. You’ll want enough water to fully submerge the corn.
Step 3: Blanch the corn
Working in batches if needed, add the corn to the boiling water. Blanch for:
- 7 minutes for small ears
- 9 minutes for medium ears
- 11 minutes for large ears
Start timing once the water returns to a boil after adding the corn.
Step 4: Ice bath
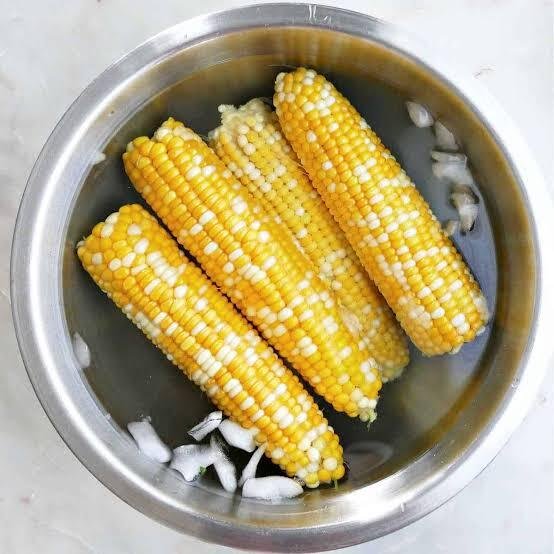
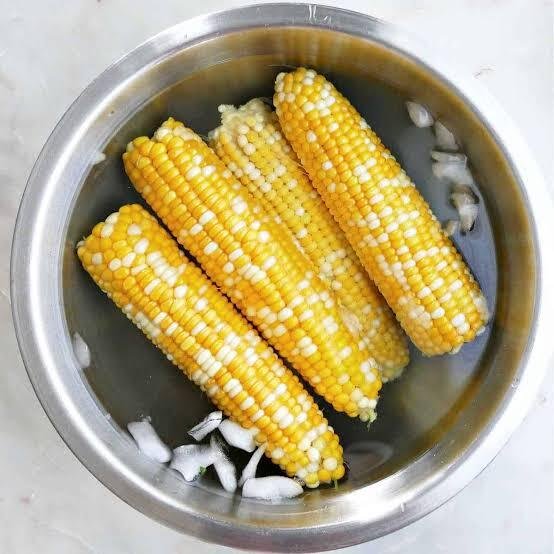
Immediately transfer the blanched corn to a large bowl of ice water using tongs, to stop the cooking process. Let it sit in the ice water for the same amount of time it was blanched — this quick cooling is just as important as the blanching itself.
Step 5: Drain and dry
Remove the corn from the ice water and drain well in a colander. Pat the ears dry with a clean towel to remove excess moisture, which helps prevent freezer burn and ice crystals from forming.
Step 6: Package for freezing
Wrap each ear individually in plastic wrap, or place several ears together in a freezer bag, pressing out as much air as possible before sealing. If using freezer bags, consider portioning them into meal-sized amounts so you only thaw what you need at a time.
Step 7: Label and freeze
Label each bag or wrapped ear with the date. Lay the bags flat in the freezer until solid, then they can be stacked or stored upright to save space.
Tips for the Best Frozen Corn
- Use the freshest corn possible — corn that’s a few days old will already be losing sweetness, and that won’t improve in the freezer.
- Don’t skip the ice bath. Cooling the corn quickly and thoroughly is just as important as blanching it in the first place.
- Dry the corn well before freezing to minimize ice crystals and freezer burn.
- Cut kernels off the cob after blanching if you’d rather store loose kernels instead of whole ears — this saves freezer space and makes for easier portioning later.
- Remove as much air as possible from freezer bags, since air exposure is the main cause of freezer burn.
How to Use Frozen Corn on the Cob
Frozen corn on the cob can be cooked straight from frozen — no need to thaw first. Boil for about 5-7 minutes, or grill wrapped in foil for about 15-20 minutes, turning occasionally.
Storage
Properly blanched and packaged corn on the cob will keep well in the freezer for up to 10-12 months. For the best flavor and texture, try to use it within the first 6-8 months.
Final Thoughts
Freezing corn on the cob is a simple way to hold onto sweet, fresh corn long after the season ends. With just a quick blanch and a proper freezer bag, you’ll have corn ready to cook straight from the freezer whenever the craving hits.