
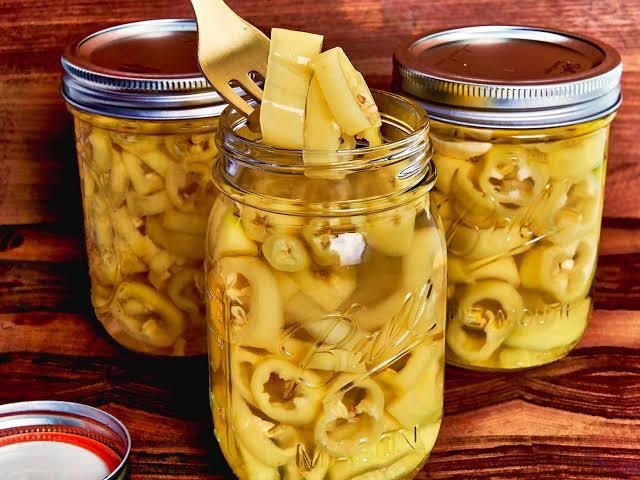
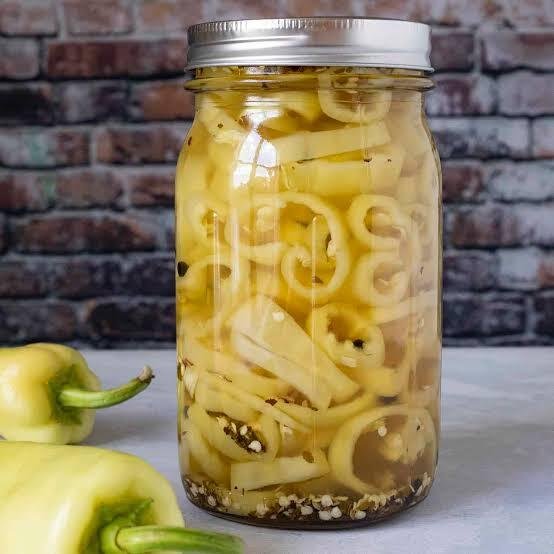
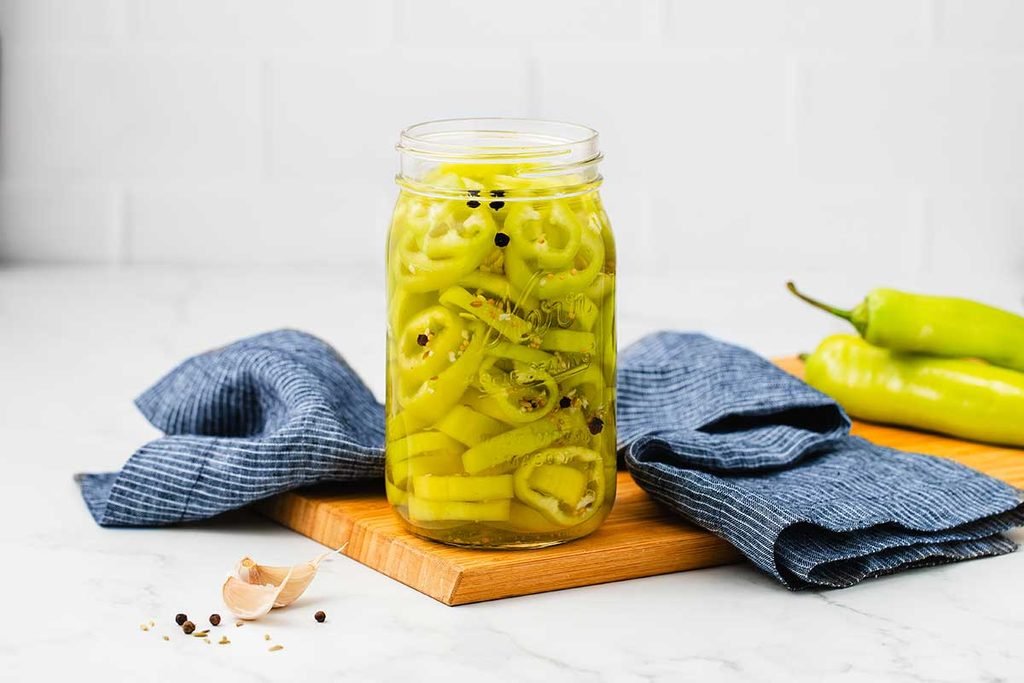
Canning banana peppers is a great way to preserve a big pepper harvest so you can enjoy tangy, crunchy pepper rings all year long, shelf-stable in the pantry. Because they’re pickled in a vinegar brine, banana peppers are a great candidate for water bath canning — no pressure canner required. This guide walks through the full process from prepping the peppers to processing the jars.
Why Vinegar Makes This Safe for Water Bath Canning
Banana peppers themselves are a low-acid vegetable, but pickling them in a vinegar-based brine raises the acidity enough to make water bath canning safe. It’s important to stick to a tested brine ratio of vinegar to water, since altering it can affect the safety of the final product.
Ingredients
Makes about 4-5 pint jars
- 3 lbs banana peppers, sliced into rings or left whole with a slit cut into each
- 8-10 cloves garlic, peeled
- 4 cups white vinegar (5% acidity)
- 4 cups water
- ¼ cup granulated sugar
- 3 tablespoons canning or pickling salt
- 1 teaspoon celery seed (optional)
- ½ teaspoon turmeric (optional, for color)
Equipment
- A water bath canner
- 4-5 pint-sized canning jars with new lids and bands
- A jar lifter
- A canning funnel
- A large saucepan
- A bubble remover or thin plastic utensil
- A sharp knife
Instructions
Step 1: Prep the peppers
Wash the banana peppers and slice off the stem ends. Slice into rings about ¼-inch thick, or leave whole with a small slit cut into the side to allow the brine to penetrate.
Step 2: Prep your jars and canner
Wash your jars, lids, and bands in hot, soapy water. Keep the jars warm until ready to fill. Fill your water bath canner about halfway with water and begin heating it.
Step 3: Make the brine
In a large saucepan, combine the vinegar, water, sugar, salt, celery seed (if using), and turmeric (if using). Bring to a boil over medium-high heat, stirring until the sugar and salt fully dissolve.
Step 4: Pack the jars
Add 1-2 peeled garlic cloves to the bottom of each jar. Pack the pepper rings or whole peppers tightly into the jars, leaving ½-inch headspace at the top.
Step 5: Fill with brine
Ladle the hot brine over the peppers in each jar, using a funnel if needed, making sure the peppers are fully submerged while maintaining that ½-inch headspace. Run a bubble remover or thin utensil around the inside of each jar to release trapped air bubbles, topping off with more brine if needed.
Step 6: Wipe, seal, and process
Wipe the rims of the jars with a clean, damp cloth to remove any residue. Place the lids on top and screw the bands on until fingertip-tight. Using a jar lifter, lower the jars into the boiling water bath canner, making sure they’re covered by at least 1-2 inches of water.
Process the jars in the boiling water bath for 10 minutes (adjusting for altitude — add 5 minutes for elevations of 1,001-6,000 feet, and 10 minutes above 6,000 feet).
Step 7: Cool and check the seals
Carefully remove the jars with a jar lifter and place them on a towel on the counter, leaving space between jars. Let them cool undisturbed for 12-24 hours. Check the seal on each lid by pressing the center — it should not flex or pop. Refrigerate any unsealed jars and use within a few weeks.
Tips for the Best Canned Banana Peppers
- Don’t alter the vinegar-to-water ratio from a tested recipe, since this affects the safety of the final product for shelf-stable storage.
- Wear gloves when slicing peppers, especially if leaving the seeds in, to avoid skin irritation.
- Slice evenly for consistent pickling.
- Add red pepper flakes to the brine for extra heat, if desired — this doesn’t affect the acidity balance.
- Label your jars with the canning date to track freshness.
Storage
Properly sealed jars can be stored in a cool, dark pantry for up to a year. Once opened, refrigerate and use within about 2 months.
Final Thoughts
Canning banana peppers is a straightforward water bath project that rewards you with jars of tangy, crunchy pepper rings ready to use on sandwiches, pizza, and nachos all year long. Sticking to a tested vinegar ratio keeps the process safe while still giving you plenty of room to adjust the other seasonings to taste.