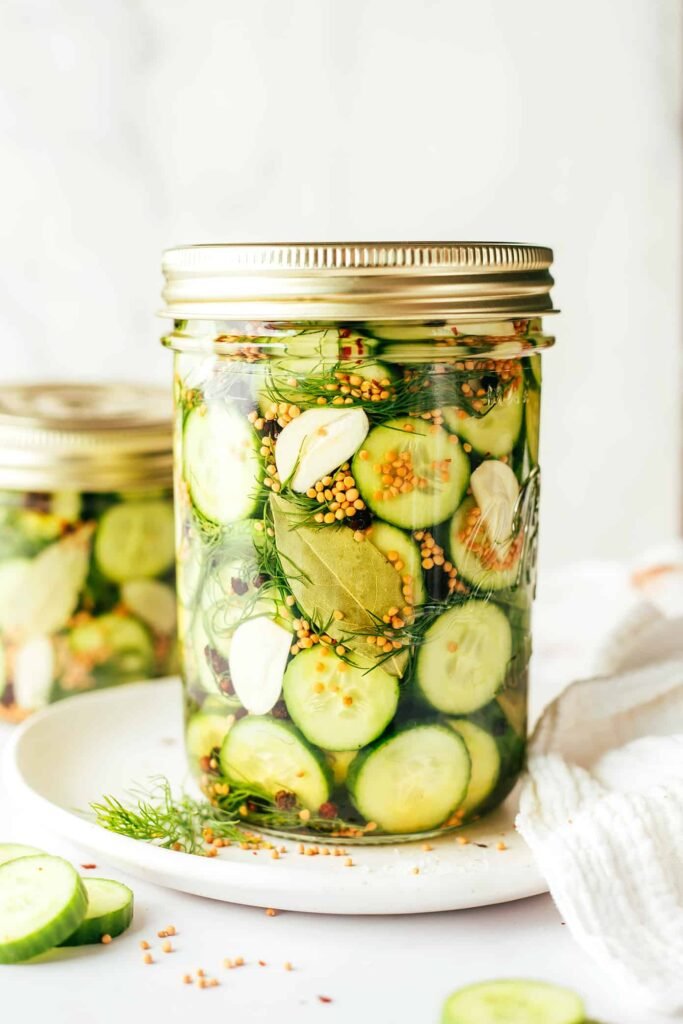
There’s something deeply satisfying about making your own pickles at home — crisp, garlicky, and bursting with dill flavor, they’re worlds better than anything from a store shelf. This recipe is a quick refrigerator pickle method, meaning no special canning equipment is required, though notes for shelf-stable canning are included if you’d like to preserve them longer.
Why Make Pickles at Home?
Homemade pickles let you control the exact balance of tangy, garlicky, and salty flavor, and you can adjust the spice level or add your own favorite herbs and seasonings. Plus, using fresh, firm cucumbers gives you a crunch that’s hard to match with store-bought jars.
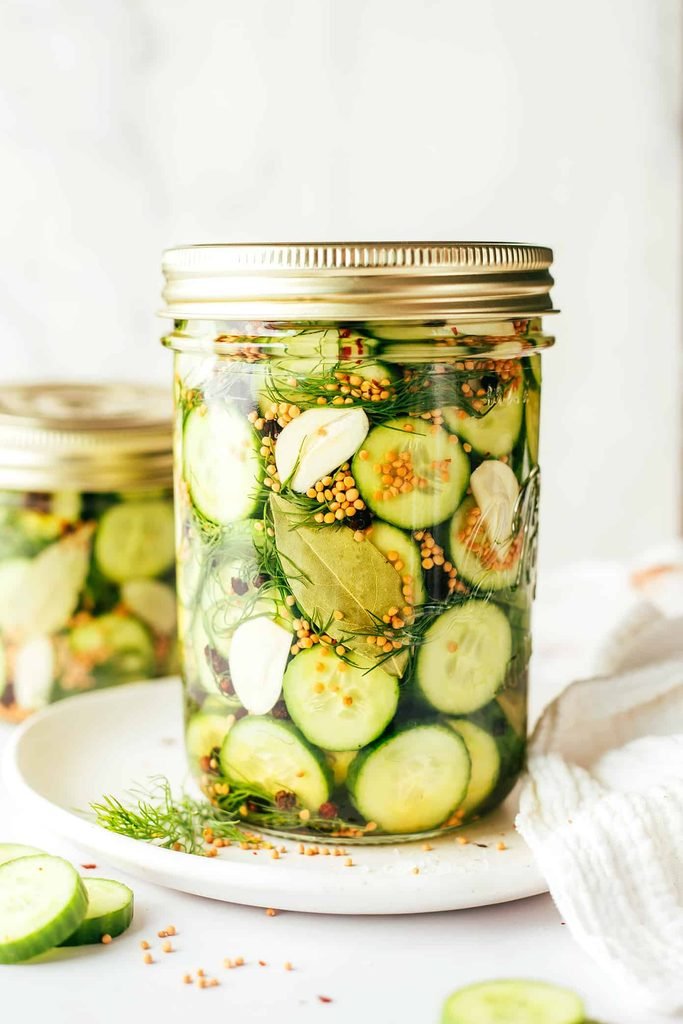
Ingredients
Makes about 2 quart jars
- 2 lbs pickling cucumbers (such as Kirby cucumbers), washed
- 4 cloves garlic, peeled and lightly smashed
- 2 teaspoons whole black peppercorns
- 2 teaspoons mustard seeds
- 4-6 sprigs fresh dill (or 2 tablespoons dried dill)
- 1 teaspoon red pepper flakes (optional, for heat)
For the brine
- 2 cups water
- 2 cups white vinegar or apple cider vinegar
- 3 tablespoons kosher salt or pickling salt (avoid table salt, which can cloud the brine)
- 1 tablespoon granulated sugar
Equipment
- 2 clean quart-sized jars with lids
- A small saucepan
- A sharp knife
- A funnel (optional)
Instructions
Step 1: Prep the cucumbers
Wash the cucumbers well and trim off the blossom end (the end opposite the stem) — this end contains enzymes that can make pickles go soft, so removing it helps keep them crisp. Cut the cucumbers into spears, rounds, or leave them whole, depending on your preference and jar size.
Step 2: Add aromatics to the jars
Divide the garlic, peppercorns, mustard seeds, dill sprigs, and red pepper flakes (if using) evenly between the two jars, placing them at the bottom.
Step 3: Pack the cucumbers
Pack the cucumber spears or rounds tightly into the jars, standing spears upright if possible, leaving about ½ inch of space at the top.
Step 4: Make the brine
In a small saucepan, combine the water, vinegar, salt, and sugar. Bring to a boil over medium-high heat, stirring until the salt and sugar fully dissolve. Remove from heat.
Step 5: Fill the jars
Carefully pour the hot brine over the cucumbers in each jar, using a funnel if needed, making sure the cucumbers are fully submerged. Gently tap the jars on the counter to release any trapped air bubbles.
Step 6: Cool and refrigerate
Let the jars cool to room temperature on the counter, uncovered. Once cooled, seal with lids and refrigerate.
Step 7: Wait (the hardest part)
For the best flavor, let the pickles sit in the refrigerator for at least 2-3 days before eating, though they’ll keep improving in flavor over the first week or two.
Shelf-Stable Canning Option
If you’d like to preserve these pickles outside the refrigerator, process the filled and sealed jars in a boiling water bath for 10-15 minutes (adjusting for altitude and jar size), then let them cool completely on the counter before checking that the lids have sealed. Properly sealed jars can be stored in a cool, dark pantry for up to a year; refrigerate after opening.
Tips for the Best Homemade Pickles
- Use fresh, firm pickling cucumbers rather than regular slicing cucumbers, which have thinner skins and more water content.
- Trim the blossom end to help keep the pickles crisp.
- Use pickling or kosher salt, not iodized table salt, which can make the brine cloudy and affect flavor.
- Let them cure long enough. Rushing the wait time means missing out on the full flavor development.
- Add extra flavor with sliced jalapeños, coriander seeds, or a bay leaf in the jar.
Storage
Refrigerator pickles will keep well in the fridge for up to 2 months. Always use a clean utensil when removing pickles from the jar to help keep the brine from spoiling.
Final Thoughts
Homemade garlic dill pickles are a simple, rewarding project that turns a bag of cucumbers into something crisp, tangy, and full of flavor. Once you’ve made a batch, it’s hard to go back to store-bought — and this basic method is easy to customize with your own favorite herbs and spices.