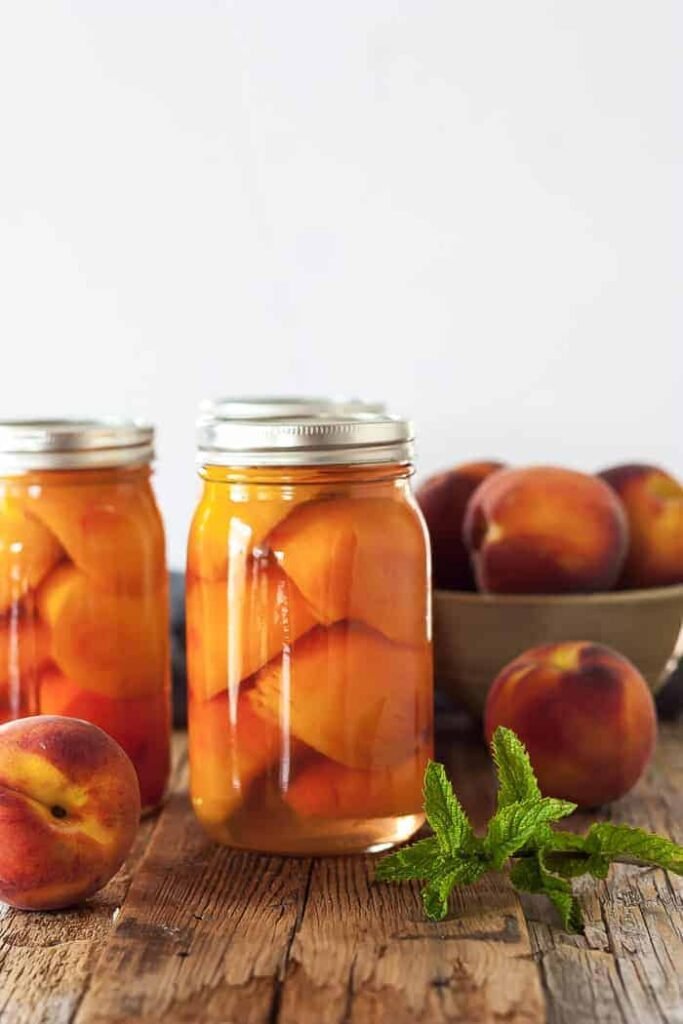
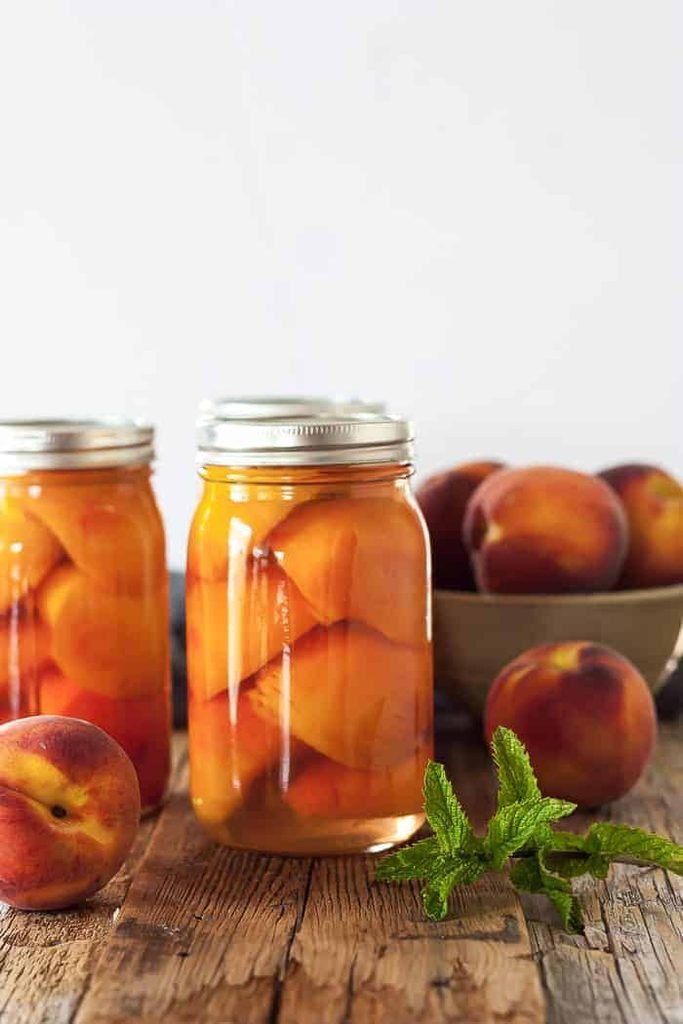
There’s nothing quite like opening a jar of homemade canned peaches in the middle of winter, packed with the sweet taste of summer. Canning peaches is a great way to preserve a big harvest or a good farmers market haul, and it doesn’t require any special skills beyond patience and attention to detail. This guide walks through the classic water bath canning method for peaches in a light syrup, step by step.
Why Can Your Own Peaches?
Store-bought canned peaches often come packed in heavy syrup and can taste flat compared to fresh fruit. Canning your own lets you control the sweetness, use perfectly ripe peaches at their peak, and enjoy that fresh flavor months later. It’s also a satisfying, old-fashioned skill that’s more approachable than most people expect.
Ingredients
- 7-8 lbs fresh, ripe peaches (about a half bushel makes roughly 7 quarts)
- 4 ½ cups water
- 1 ½ to 2 cups granulated sugar (adjust to taste, or see sugar-free option below)
- 1 tablespoon lemon juice per quart jar (bottled, for consistent acidity)
Sugar-free option: Peaches can be canned in 100% fruit juice, such as white grape or apple juice, or even plain water instead of syrup — the sugar is for flavor, not preservation.
Equipment
- A large water bath canner (or a large stockpot with a rack)
- 7 quart-sized (or pint-sized) canning jars with new lids and bands
- A jar lifter
- A canning funnel
- A large pot for blanching peaches
- A large bowl of ice water
- A ladle
- A clean, damp cloth for wiping jar rims
- A bubble remover or a thin plastic or wooden utensil
Instructions
Step 1: Prep your jars and canner
Wash your jars, lids, and bands in hot, soapy water and rinse well. Keep the jars warm until you’re ready to fill them — either by leaving them in hot water or running them through a dishwasher cycle. Fill your water bath canner about halfway with water and begin heating it, since you’ll need boiling water both for peeling the peaches and for the final processing step.
Step 2: Peel the peaches
Bring a large pot of water to a boil. Score a small X on the bottom of each peach with a paring knife. Working in batches, drop the peaches into the boiling water for 30-60 seconds, then immediately transfer them to a bowl of ice water. Once cooled, the skins should slip off easily by hand.
Step 3: Slice and pit
Cut each peeled peach in half, remove the pit, and slice into wedges if desired, or leave in halves. To prevent browning while you work, place the cut peaches in a bowl of water with a splash of lemon juice until you’re ready to pack the jars.
Step 4: Make the syrup
In a saucepan, combine the water and sugar. Bring to a simmer, stirring until the sugar is fully dissolved. Keep the syrup hot while you pack the jars.
Step 5: Pack the jars
Add 1 tablespoon of bottled lemon juice to each warm quart jar (½ tablespoon for pint jars) — this ensures the acidity needed for safe water bath canning. Pack the peach halves or slices into the jars, cut-side down, leaving 1/2 inch of headspace at the top.
Step 6: Add the syrup
Ladle the hot syrup over the peaches in each jar, maintaining that ½-inch headspace. Run a bubble remover or thin utensil around the inside of the jar to release any trapped air bubbles, then top off with more syrup if needed to maintain the correct headspace.
Step 7: Wipe, seal, and process
Wipe the rims of the jars with a clean, damp cloth to remove any stickiness, which could prevent a proper seal. Place the lids on top and screw the bands on until fingertip-tight — not overly tight. Using a jar lifter, lower the jars into the boiling water bath canner, making sure they’re fully submerged with at least 1-2 inches of water above the tops.
Process the jars in the boiling water bath for:
- 20 minutes for pint jars
- 25 minutes for quart jars
(Adjust processing time for your altitude — add 5 minutes for elevations of 1,001-6,000 feet, and 10 minutes above 6,000 feet.)
Step 8: Cool and check the seals
Carefully remove the jars with a jar lifter and place them on a towel on the counter, leaving space between jars. Let them cool undisturbed for 12-24 hours. You’ll likely hear a satisfying “ping” as the lids seal. After cooling, check the seal by pressing the center of each lid — it should not flex or pop. If a lid didn’t seal, refrigerate that jar and use it within a few weeks instead of storing it in the pantry.
Tips for the Best Canned Peaches
- Use freestone peaches if possible — the pit separates from the flesh much more easily than clingstone varieties.
- Choose ripe but firm peaches. Overripe peaches can turn mushy during processing.
- Work in batches to keep the process manageable, especially when peeling and slicing.
- Label your jars with the canning date so you can track freshness over time.
- Don’t skip the lemon juice — peaches are a low-acid fruit, and the added acidity is important for safe water bath canning.
Storage
Store sealed jars in a cool, dark pantry for up to 12-18 months for the best quality. Once opened, refrigerate and use within about a week.
Final Thoughts
Canning peaches is a rewarding way to capture peak-season fruit and enjoy it well into the colder months. It takes a bit of time and attention, but the process is straightforward, and there’s nothing quite like the taste of home-canned peaches over ice cream or straight out of the jar in January.